Baby Face Filter Snapchat: Lens or Photo Edit?
Choose between Snapchat’s live Baby Face Lens and a saved-photo baby face edit, with a practical route for each goal and no false promise that one tool handles every image.


The word order in “baby face filter Snapchat” does not prove that people want a different effect from “Snapchat baby filter.” Both can mean the native Baby Face Lens. The useful distinction is the job you need done: do you want to record your face changing live, or do you already have a portrait that needs a finished baby-version image?
Use Snapchat’s Baby Face Lens page when the camera moment is the point. Use Baby Filter when you need to work from a saved portrait and review the result before sharing. Neither workflow should be presented as a universal substitute for the other.
Disclosure: Vofy is the saved-photo example in this comparison; Snapchat controls the native Lens, its availability, and its camera behavior.
What actually differs between the two routes
Most comparisons stop at “one is live, one is not.” Five things actually separate them, and they matter in different situations.
The input. The Lens takes your camera. You cannot hand it a photo from last summer. A saved-photo edit takes a file, which means you can choose the frame, the expression, and the lighting after the fact.
The output. The Lens produces a Snap — a photo or a short video captured in the app. A saved-photo edit produces an image file, which can go anywhere: a profile picture, a thumbnail, a print, a group chat outside Snapchat.
The dependency. The Lens depends on the effect being available to your account, in your region, on your app build. A saved-photo edit depends on nothing in the app; it runs on the file you upload. This is the difference that decides most real cases, because Lens availability is not something you control.
The retry cost. Re-recording a Lens reaction means performing the reaction again, which is the point of the format and also its limitation. Rerunning a saved-photo edit costs one upload, so you can compare several directions side by side and keep the best.
The timing. A live Lens is immediate — the effect appears and you react. A saved-photo edit is produced and reviewed, which means it suits planned posts rather than spontaneous ones.
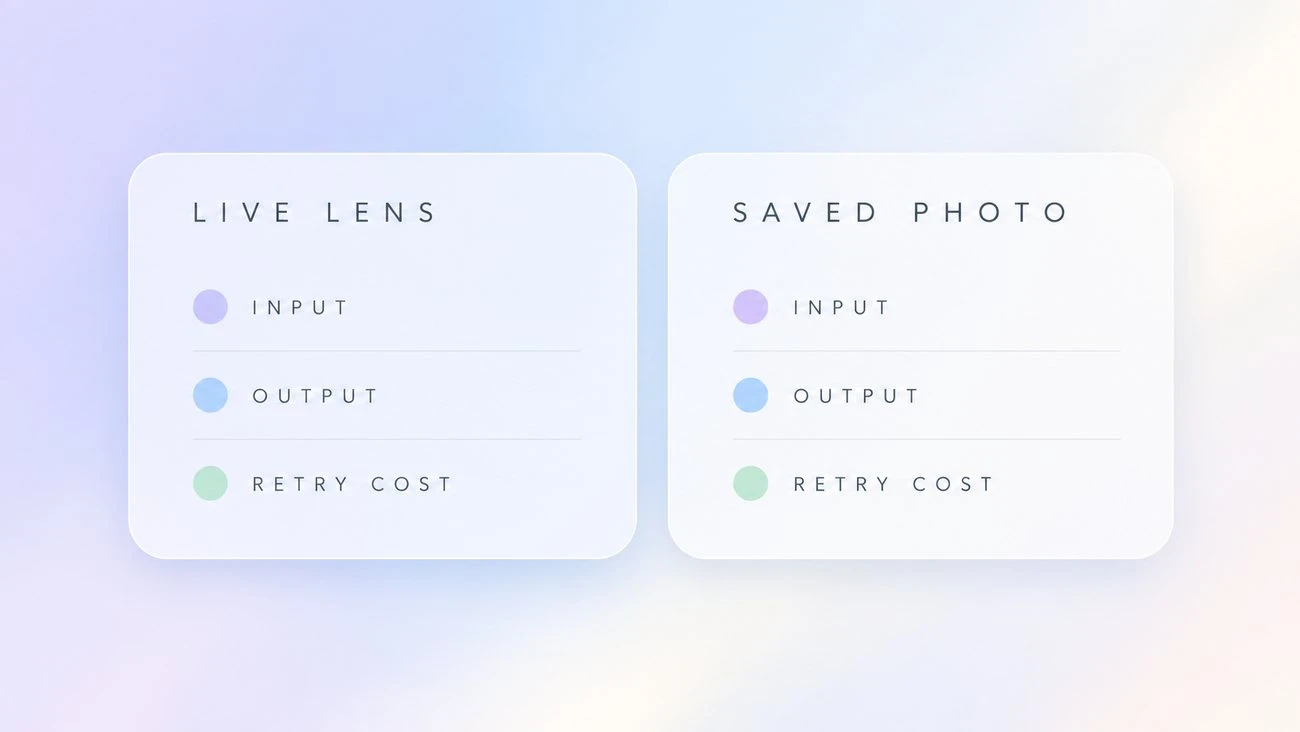
Pick by the input you already have
| Your starting point | Better first choice | Why |
|---|---|---|
| You are ready to record a reaction | Snapchat Baby Face Lens | The effect is visible while the camera is open |
| You have one clear portrait in your library | Saved-photo AI edit | You can choose the crop and review the still before posting |
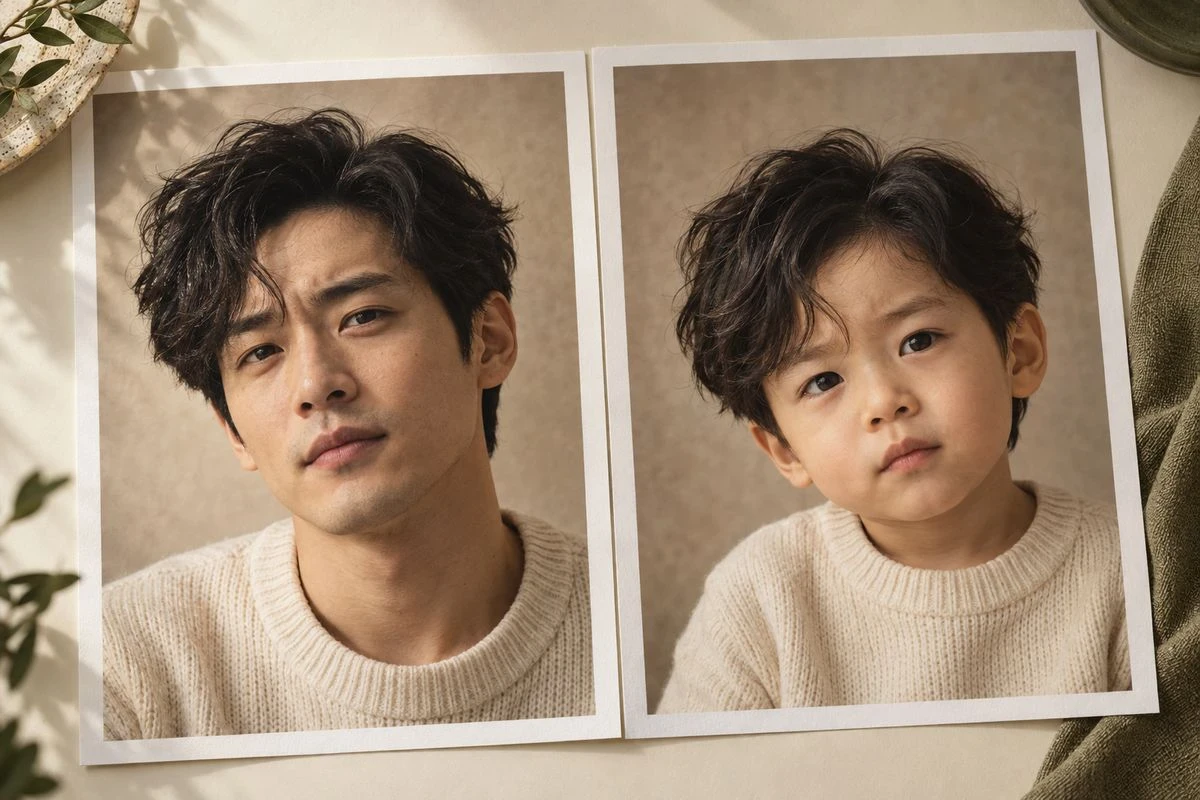
| You want two matching portraits | Saved-photo AI edit | A controlled source gives the pair a consistent look |
| You want a spontaneous video with friends | Snapchat Lens | Timing and reaction matter more than a polished still |
| You want a meme with deliberate text placement | Saved-photo AI edit, then design the post | You can inspect the face before adding a caption |
| You want a profile picture or a keepsake | Saved-photo AI edit | The output is a file you keep, not a Snap in a thread |
| You want a still for another platform | Saved-photo AI edit | A file is portable; a Snap lives inside Snapchat |
This is a capability comparison, not a claim that one route creates a better face. The actual result depends on the source image, current Lens availability, and the settings available at the time.
Route A: the live Lens, in practice
Open the official Lens page or find it through Snapchat’s Lens Explorer. Check the preview and author, because similarly named “Baby” Lenses can do something else entirely. Snapchat’s Lens help explains the camera carousel, shutter, and press-and-hold video controls. Use those current in-app controls rather than copying a button position from an older tutorial.
If it is missing, search Lens Explorer by “baby face,” update the app, and try a well-lit, front-facing face. Snapchat notes that some Lenses do not work on every device in its troubleshooting guide. A link that opens in a browser is an entry point, not proof that the Lens is installed or available on your account.
The thing worth internalising about this route: you are borrowing a tool you do not control. That is fine for a spontaneous post. It is a poor plan for anything with a deadline, because the Lens can rotate out of the carousel or be re-versioned without notice.
Route B: the saved-photo route, in practice
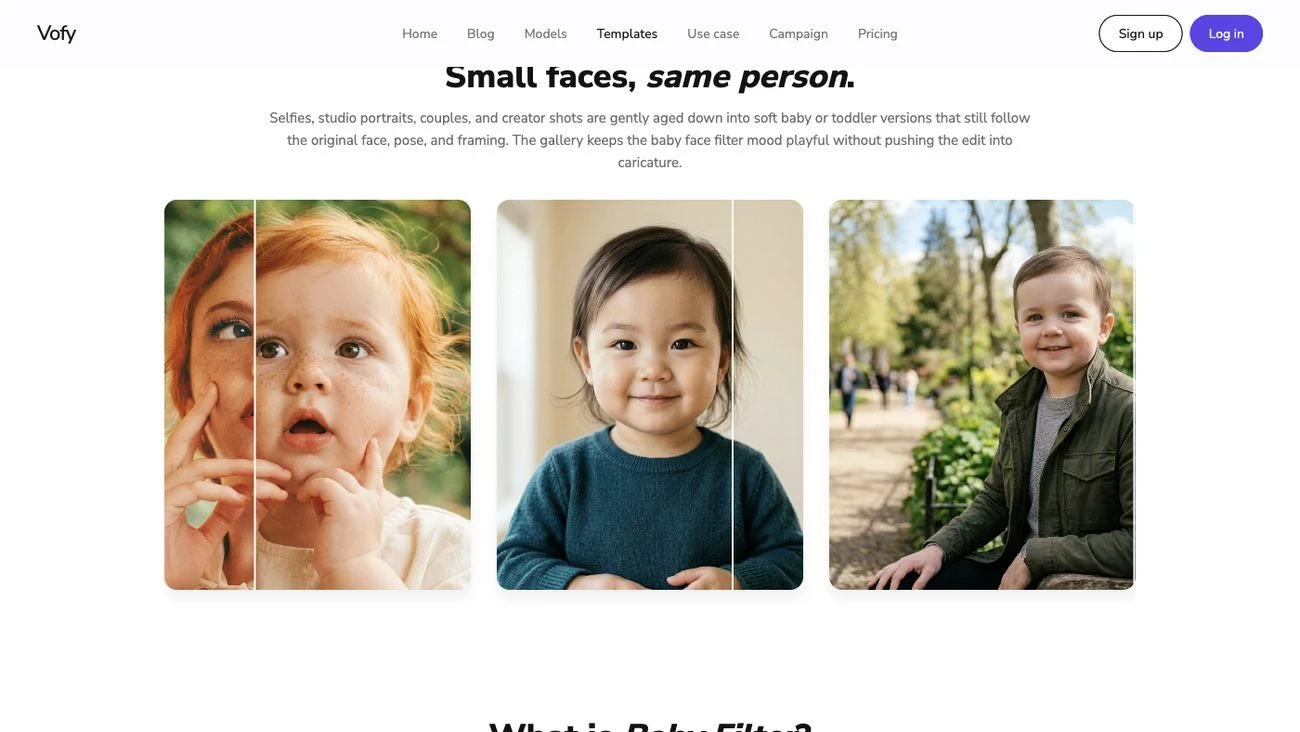
For a still image, start with a portrait you own or have permission to edit. Keep the face large and the eyes, cheeks, mouth, and hairline visible. In Vofy, open the Baby Filter, upload the portrait, and choose a natural baby, toddler, studio, throwback, or playful direction. Review the eyes, cheeks, mouth, hairline, and expression before you share it.
If the result looks like a random child, change the crop or reduce the exaggeration before adding text. If the identity reads but the mood is wrong, change the mood. Keeping the source beside the result makes that decision much easier than judging the output from memory.
Snapchat’s Camera Roll help covers finding a saved photo through Memories and sending it. That feature is for sharing a saved image; it does not mean every live Lens can reprocess every Camera Roll file.
What each route cannot do
Stating the limits plainly prevents most of the frustration this search produces.
The Lens cannot be applied to your chosen photo. If the effect only reads a live camera face, no amount of Camera Roll sharing will turn an old portrait into a baby version. That is a workflow boundary, not a bug you can work around.
The saved-photo route cannot produce a reaction. It makes an image. If the value of the post is watching someone’s face change in real time, a still does not carry it.
Neither route guarantees a recognisable result. Both depend on the source. A poorly lit, angled, or heavily filtered input limits what either workflow can preserve.
Neither route makes the result a real childhood photo. It is a fictional baby version of a portrait in both cases. Presenting it as a record is the one use that has no honest framing, regardless of how good the output looks.
Eight misconceptions this search creates
“The baby filter is one specific thing.” There are many similarly named Lenses plus at least two other workflows people call by the same words — a template montage and an AI photo edit. Identify the format before hunting the name.
“If it is gone, it was deleted.” Lenses are usually rotated out or re-versioned rather than deleted. The public page can stay live while the effect stops appearing in your carousel.
“A Camera Roll photo can go through the Lens.” Sharing a saved image and processing a live camera face are separate flows. One does not imply the other.
“The AI edit is a Snapchat filter.” A saved-photo age-down image is not a Lens and is not made by Snapchat. Describing it as one misleads people searching for the native effect.
“A caption is enough to label it.” A label helps, but consent matters more than labelling. Use your own photo, or one you have permission to edit.
“One route is the modern replacement for the other.” They solve different problems. The Lens is for the moment; the edit is for the image.
“A longer prompt will fix a generic result.” If the output looks like a random child, the problem is almost always the source image, not the instruction. A closer crop, better light, or a softer direction restores identity cues that a longer sentence cannot invent. Text cannot recover information the input photo never contained.
“The result tells me what I looked like.” It does not, and it is not designed to. The output is a fictional younger interpretation of a current portrait, which is why it can look plausible and still be unrelated to any real photograph of you as a child. Treat it as a creative edit rather than a document.
Two worked decisions
Abstract comparisons are harder to apply than worked examples. These two cover most real cases.
Case one: you want a new profile picture. You have a portrait from a trip last month that you like — good light, straight-on, face clearly visible. The live Lens cannot use it, because a Lens reads a live camera face rather than a file. So the route is the saved-photo edit: upload the portrait, try a natural direction and a studio direction, and keep the one where your expression survives. Then post the still or set it as an avatar. The Lens was never the right tool here, despite being the more famous one.
Case two: a friend sends a Snap and you want the same moment. Here the reaction is the content — you want the video of your own face changing. The saved-photo route cannot produce that, because it makes an image rather than recording a reaction. So open the Lens and record. If the Lens is not in your carousel, this is the case where the photo route is a genuinely different post rather than a substitute: you get a still comparison instead of a reaction video.
The pattern in both is the same, and it is worth stating plainly: the input you already have decides the answer before the tool does. If you have a file, edit the file. If you have a moment to record, record it. Most of the frustration around this search comes from trying to force one route into the other route’s job — and no amount of searching resolves that, because it is a workflow mismatch rather than a missing feature.
Posting and labelling
A live Lens can carry the reaction itself: someone opens the camera, sees the change, and laughs. A saved edit carries a before-and-after story: the original is chosen deliberately, the output is reviewed, and the two frames can be arranged at the same crop. One is an event; the other is an image-making workflow.
For either route, use a clear caption when the result could be mistaken for an authentic childhood photo. Use only permitted likenesses. Do not claim that an AI age-down image is proof of what someone looked like as a child.
A short pattern that works for both: state what it is, then let the image do the rest. “AI baby version of me” is honest, gives the viewer the frame, and does not weaken the joke — the joke was always the recognisable face at the wrong age.
If you need the direct native walkthrough, go to Snapchat Baby Filter: Find and Use the Right Lens. If you need a reusable image for a meme or a TikTok reveal, go to Baby Filter TikTok. The best choice is the one that starts with the input you actually have.
Try it yourself on Vofy
Generate AI images and videos with the best models - all in one studio.
Discover More
 Sofia Rodriguez•
Snapchat Baby Filter: Find and Use the Right Lens
Find the Snapchat baby filter people mean, tell a face Lens from a similarly named effect, and use Snapchat’s current camera flow without chasing an outdated tutorial.
 Sofia Rodriguez•
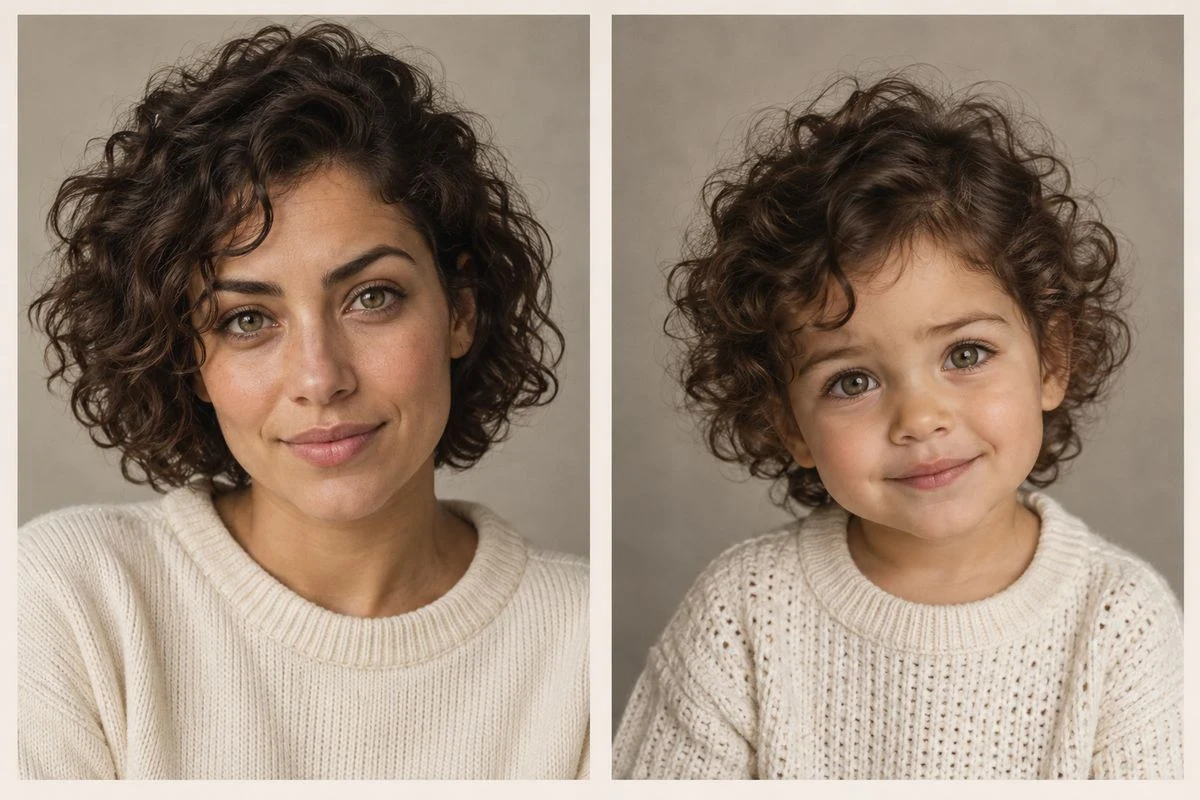
What Would I Look Like as a Baby? AI Generator Guide
A practical guide to making a baby face filter from one portrait, choosing a source photo, judging identity drift, and fixing an edit that looks like a random child.
 Sofia Rodriguez•
Baby Filter TikTok: Which Effect Are You Looking For?
Sort the different baby filter TikTok searches, then turn a permitted portrait into a readable before-and-after post without pretending an AI edit is a real childhood photo.